Share access with users, teams or everyone in your TrueFoundry account
As shown in the previous slides, you can share access of each integration with users, teams or everyone in your TrueFoundry account. This would allow them to view and use the integration. Only tenant-admins can edit the integrations.
Azure Blob Storage(ABS) Integration
Follow the steps below to connect your Azure blob storage to TrueFoundry:- Create a Azure Storage account in your resource group
- Instance details - You must
Geo-redundant storageto make sure your data is available through other regions in case of region unavailability. - Security - Make sure
- DISABLE
Allow enabling anonymous access on individual containers - ENABLE
Enable storage account key access
- DISABLE
- Network access - ENABLE
Allow public access from all networks - Recovery - You can keep it to default for 7 days.
- Instance details - You must
- Create an Azure container inside the above storage account.
- Search for
CORSfrom the left panel and forBlob service(optional forFile serviceQueue serviceandTable Service, only apply the change if you are using them) select the below options- Allowed Origins -
*or your control plane URL - Allowed Methods -
GET, POST, PUT - Allowed Headers -
* - Exposed Headers -
Etag - MaxAgeSeconds -
3600
- Allowed Origins -
- Collect the following information
-
Standard endpoint - Endpoint of the blob storage Once the container is created we need to get the standard endpoint of the blob storage along with the container which will look something like this. Replace this with your storage account name and the container name.
-
Connection string - From the Azure portal in your storage account, head over to the
Security + Networkingsection underAccess keyswhich will contain theConnection String.
-
Standard endpoint - Endpoint of the blob storage Once the container is created we need to get the standard endpoint of the blob storage along with the container which will look something like this. Replace this with your storage account name and the container name.
- Head over to the Integrations tab from the sidebar and follow the steps shown in the previous demo to complete the integration.
Azure Container Registry(ACR) Integration
To add Azure Container registry, follow the steps below:- Create an Azure container registry in your Azure resource group.
- Connectivity access - Public from (all networks)
- Collect the following information
- Your container registry name will be in the format
<name>.azurecr.io - The username and password for the container registry can be copied from Access keys under Settings in the left panel of the Azure portal in your container registry resource.
Enable the Admin User to copy the username and the password
- Your container registry name will be in the format
- Head over to the Integrations tab from the sidebar and follow the steps shown in the previous demo to complete the integration.
Azure AKS integration
To add support of Azure AKS integration, follow the below steps- Create an Azure Ad App registration
- Create a client secret for the Azure AD application with custom expiration set to a long time. You can do this from the left panel -> Certificates and Secrets.
- Head over to the AKS cluster and add
ReaderandMonitoring Readerrole to the above Azure AD application. This can be done from Azure portal -> kubernetes services -> AKS cluster -> Access Control. - Head over to the Integrations tab from the sidebar and follow the steps shown in the previous demo to complete the integration.
Azure Key Vault Integration
To add Azure Key Vault as a secret store, follow the below steps: Prerequisites- Create an Azure Key Vault in your resource group if you don’t have one already.
- Navigate to the Azure Portal and search for “Key Vaults”.
- Click + Create to create a new Key Vault.
- Select your subscription and resource group.
- Enter a unique name for your Key Vault
- Select the region and pricing tier.
- Click Review + create and then Create.
- Ensure the Azure provider account used for the integration has the necessary permissions to access the Key Value, also make sure that you give all read, write, list and delete permissions.
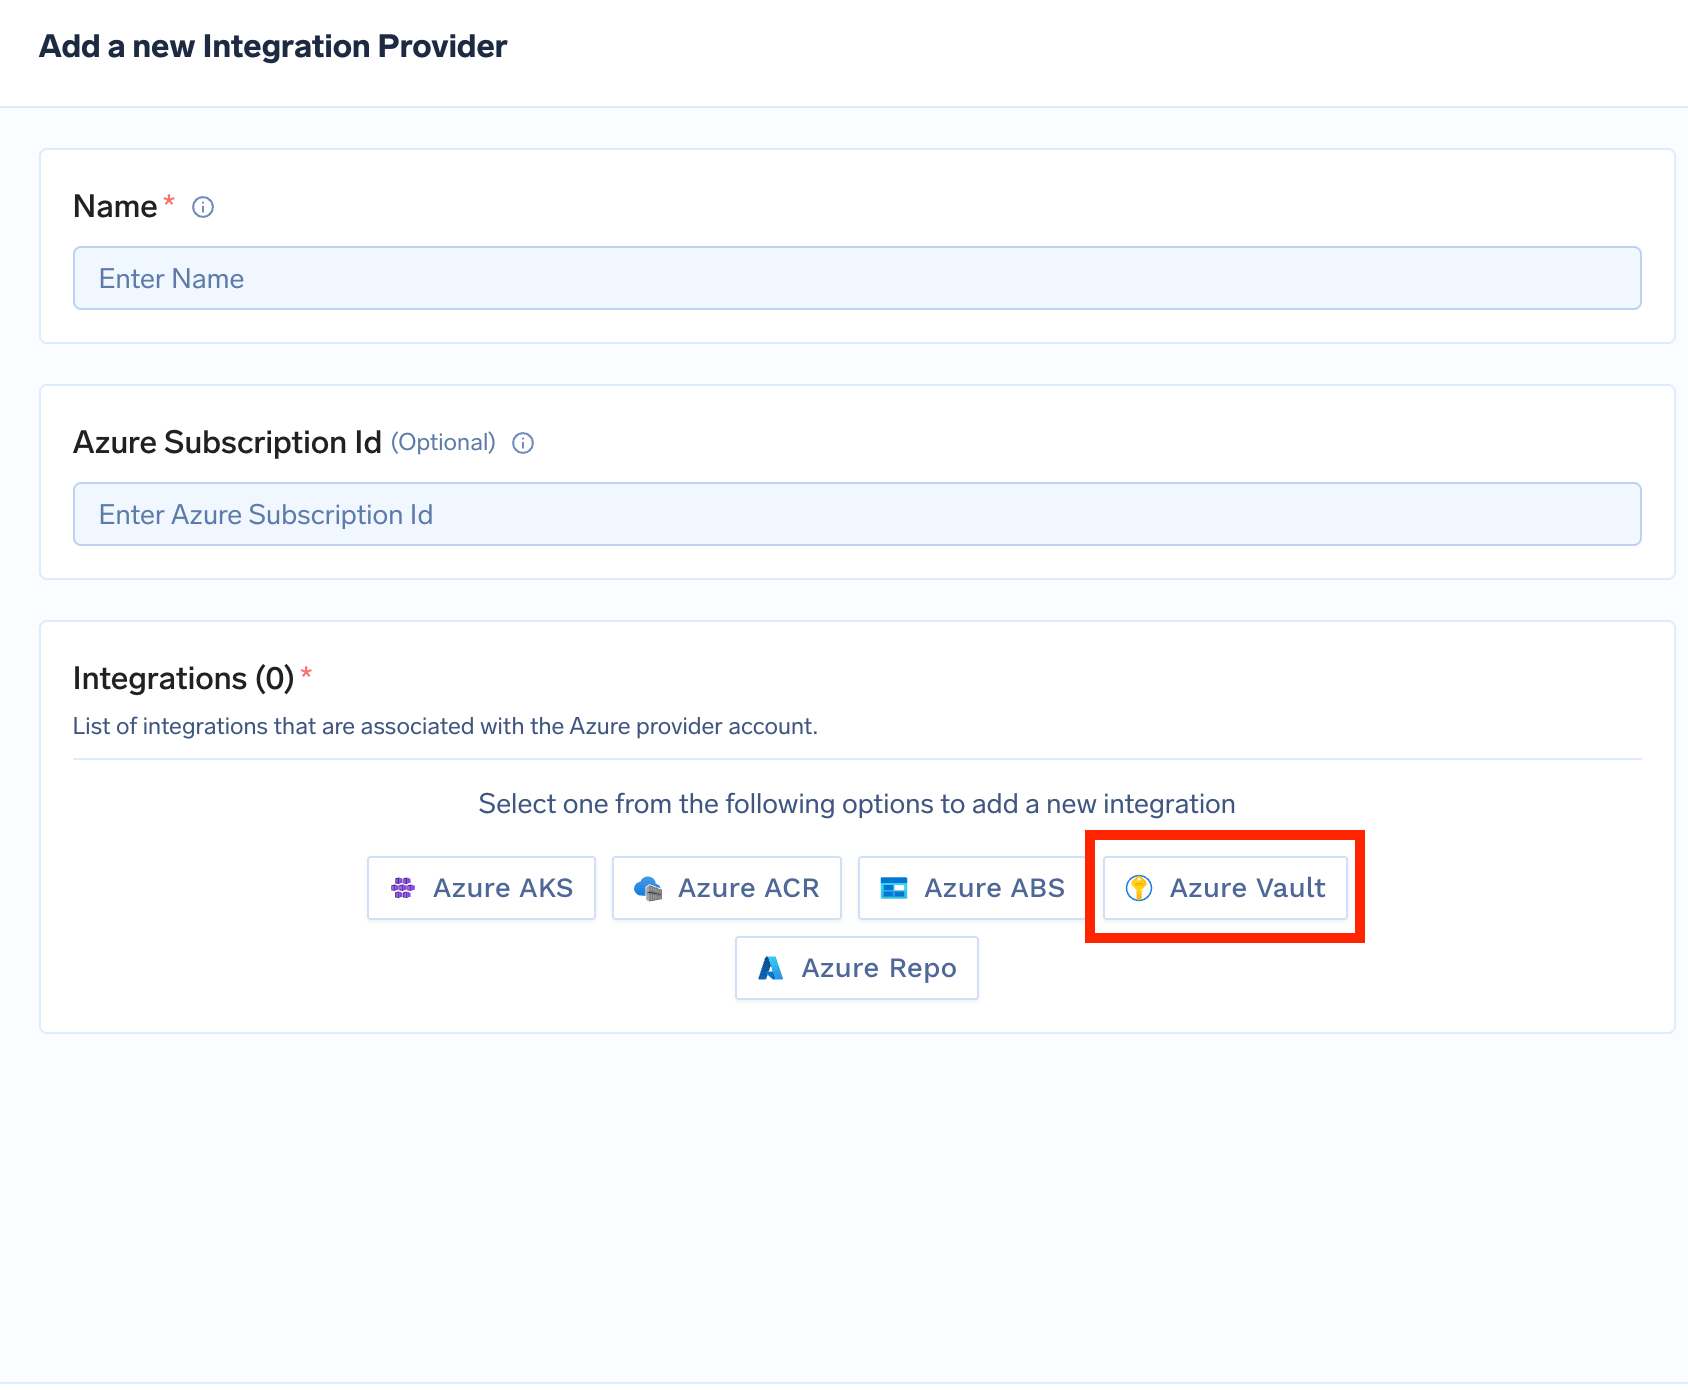
- Navigate to Integrations from the sidebar and click Add Integration Provider.
- Select Azure as the provider type.
-
Fill in the provider account details:
Field Description Name A unique name for your Azure provider account. Must be 3-32 lowercase alphanumeric characters, may contain hyphens, and cannot start with a number. Azure Subscription Id (Optional) Your Azure subscription ID.
Azure Key Vault Integration Form
-
Under Integrations, click to expand Azure Vault and fill in the following:
Field Description Display Name The name that will be displayed in the TrueFoundry UI for this integration. Azure Key vault Name The name of your Azure Key Vault (e.g., my-vault-name).Access Control (Optional) List of users or teams allowed to use this integration. Format: <user_type>:<username>. Defaults toeveryone.Azure OAuth (Optional) Enable this to use Azure OAuth for authentication. - Click Add Integration Provider to save your integration.